

So I started the process of disassembling the chair. You've no idea how many staples there really are until you start, and think OMG do they really need that many staples in one spot!!! I'll admit I briefly scanned a few tutorials online but not finding much that would help me with this chair. I really just wanted to dig in. So I decided that it would be a smart idea for me to take pictures as I tore down the chair, hoping I would know how to put it back together. All the padding and springs were in great shape so I used as much of the original bits and pieces as I could.


Since this was my first large upholstery project, I didn't really take many pictures of the process. There were a few problems I ran into though. I tried to remove my fabric pieces in whole sections so I could use them as my pattern for the new fabric. However, I thought to be safe I would allow an extra 2-3 inches of fabric all around. This was not enough in some places so I would recommend more! say 5-6 inches. I ended up having to improvise!! AKA I had to test my sewing skills, but this was mostly due to the fact that I had not planned on using the decorative tacks.

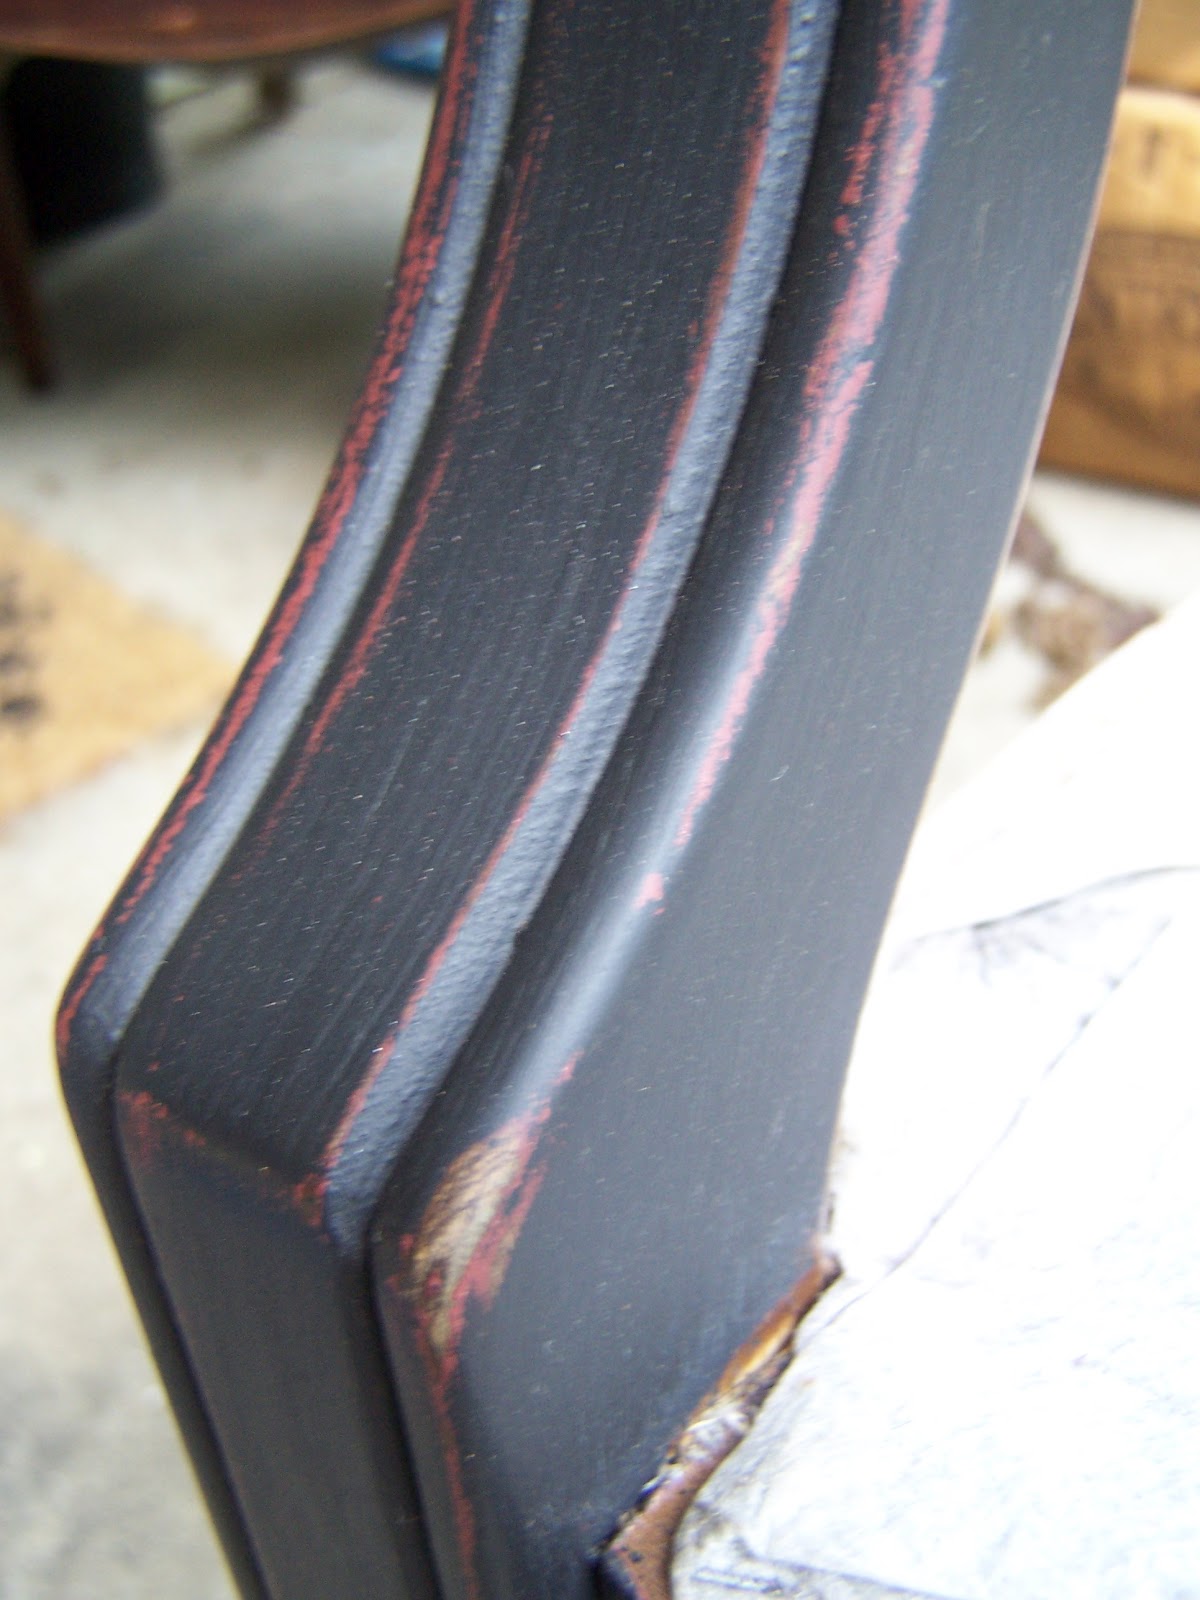
Next I removed any padding that would be in the way of painting the frame. I used a dark red as my base and black top coat, sanded, then applied two layers minwax special dark.

After lots of stretching and stapling and a good bit of blind stitching this is what I ended up with. Not to shabby for a first go around. Took me about a week to do because I was only able to work on it in between nap times. Did I mention this is going down to my hubbies automotive office. I think it's very masculine, or at least I tried to make it that way.

AFTER I finished this chair I noticed a new post on one of the blogs that I follow. It was an upholstery tutorial! Luckily, I've already picked up another chair that needs a makeover. There was a ton of very helpful information, I just wish I had found it before I started this chair. Check it out Here.